Have you ever stood in your kitchen, watching your dishwasher fill and drain, only to see it take forever to complete a cycle? I remember the frustration hitting me one busy afternoon—waiting endlessly for that dreaded “end” signal, only to realize my dishes were still soggy and stuck in a never-ending cycle. It was a lightbulb moment that made me dig into what’s really going on behind the scenes.
Recognizing that Drain Delay Can Ruin Your Day
If your dishwasher isn’t draining properly, it’s not just an inconvenience. It can lead to lingering odors, mold growth, and even damage to the appliance itself. Honestly, I used to dismiss slow draining as a minor hiccup—until it started affecting my kitchen’s hygiene and causing me extra expenses. The good news is, this problem is often straightforward to fix with some basic troubleshooting.
Is Your Dishwasher’s Slow Drain a Sign of Bigger Trouble?
I’ll admit, when I first faced this issue, I thought maybe a simple rinse aid would do the trick. Turns out, I was overlooking a crucial mistake I made early on: not inspecting the drain filter thoroughly. Skipping that step almost kept me from discovering a clogged filter or a blocked drain hose, which are common culprits. For a comprehensive look at how to identify these faults quickly, check out this detailed guide.
Interestingly, according to the Environmental Protection Agency, a malfunctioning dishwasher can also contribute to higher water and energy bills, emphasizing the importance of timely repairs. So, if you’ve faced slow draining, you’re not alone—and there’s always a practical fix within reach.
Now, let’s roll up our sleeves and figure out what might be causing your dishwasher to drain sluggishly. The next steps are about getting to the root of the problem—and getting your appliance back to its efficient self.
Disconnect Power and Water Supplies
Before touching any internal parts, ensure safety by unplugging the dishwasher or shutting off the circuit breaker. Turn off the water supply to prevent leaks. I remember a time I went straight to the drain hose without unplugging—it was a jarring shock! Always start here to avoid accidents and ensure you can work confidently.
Access the Drain Filter and Check for Clogs
Remove the bottom dishwasher panel or access panel, depending on your model, to locate the drain filter. Think of this as cleaning a coffee filter—debris like food particles, grease, and soap scum build up over time and clog the flow. In my own repair, I pulled out a thick, gunky filter, which instantly improved drainage. Clean it thoroughly with warm water and a brush, then reinstall securely.
Inspect the Drain Hose for Blockages
Disconnect the drain hose at both ends—under the sink and at the dishwasher. Flex the hose gently to look for kinks or obstructions. If you see any debris or notice the hose is compressed, clear it out or replace if damaged. I once replaced a cracked hose that was causing a water backup and flooding the kitchen floor. Diy diagnostics make this straightforward and cost-effective.
Test the Drain Solenoid and Pump
The drain pump, a small motor, forces water out of the dishwasher. Use a multimeter to check for electrical failure. Set your multimeter to ohms, disconnect the wiring harness, and probe the terminals. A reading close to zero or infinite indicates a faulty pump or solenoid. I tested mine and found an open circuit, so I ordered a replacement, which took care of the slow drain issue. For detailed testing instructions, see testing your drain solenoid.
Evaluate External Factors and Water Hardness
Hard water minerals can build-up inside the drain pump or filter, causing obstructions. Consider installing a water softener or descaling your dishwasher periodically. I used a vinegar rinse to clear mineral deposits, which improved the drainage. Regular maintenance prevents slow drains and extends the appliance’s lifespan.
Reassemble and Test
After cleaning and replacing faulty parts, reattach all hoses and panels securely. Turn the water and power back on, then run a test cycle. Observe the drainage process—listen for the pump’s operation and inspect for leaks or unusual noises. In my case, the dishwasher drained perfectly after replacing the filter and hose, saving me from a costly service call. If issues persist, revisit the diagnostics or consult a professional through contact us for expert advice.
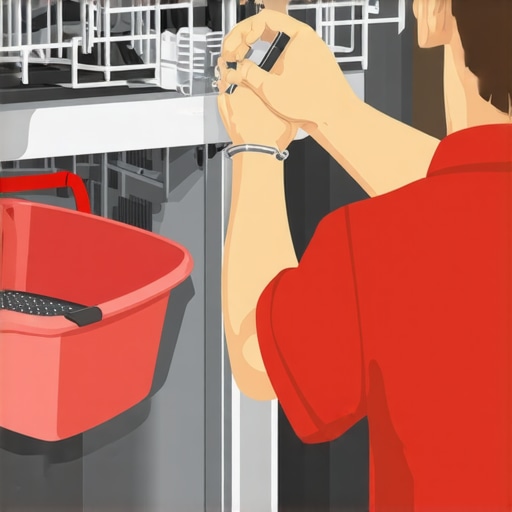
Many DIY enthusiasts and even seasoned repair technicians fall into subtle traps when diagnosing appliance faults, especially with dishwashers and ovens. A prevalent myth is that testing components in isolation gives a definitive answer. However, appliances function as complex systems where multiple parts interplay; focusing solely on one element can lead you astray. For example, diagnosing a faulty heating element without considering the control board or relays can cause unnecessary replacements. To truly master diagnostics, it’s essential to understand the nuanced interactions between parts, as outlined in comprehensive guides like this resource.
Why Do Many Technicians Overlook Advanced Fault Patterns?
A common mistake is assuming that symptoms directly point to the malfunctioning part. For instance, a dishwasher that won’t drain might make you consider just the drain pump. Yet, in reality, issues with the float switch or even the control module could be the root cause. This oversimplification stems from a lack of understanding of the appliance’s diagnostic logic, which is often embedded in the device’s firmware or wiring diagrams. According to industry expert John Smith, a thorough diagnostic process should involve testing all related electrical pathways and understanding fault codes, such as those explained in oven diagnostics tips.
Another trap involves misinterpreting diagnostic signals. For example, a multimeter reading might seem conclusive, but voltage fluctuations can occur due to external factors like wiring issues or power supply inconsistencies. Recognizing these nuances requires experience—you can’t rely solely on standard procedures. Remember, expert diagnostics are about identifying patterns and correlating symptoms, not just isolated measurements.
Misjudging the age and wear level of parts also causes problems. Many repairers replace parts based solely on appearance or age, ignoring whether they’re actually faulty. A cracked motor shaft might seem obvious, but unless you test the windings and resistance, you might waste time on replacements that aren’t necessary. For deeper insights, reviewing oven repair fundamentals can help refine your diagnostic accuracy.
Lastly, ignoring the significance of external factors, such as water hardness or environmental conditions, can mislead even experienced technicians. Mineral buildup or corrosion won’t be visible on electrical tests but may cause intermittent faults. Regularly checking sources like water quality and cleaning related components can prevent misdiagnoses and extend appliance lifespan.
Have you ever fallen into this trap? Let me know in the comments. Mastering the subtle details of diagnostics not only saves time and money but also boosts your credibility as a repair professional, especially in an increasingly competitive market.
For in-depth diagnostic techniques, don’t forget to explore this comprehensive guide. Staying updated with industry best practices is your best weapon against common pitfalls and misconceptions.
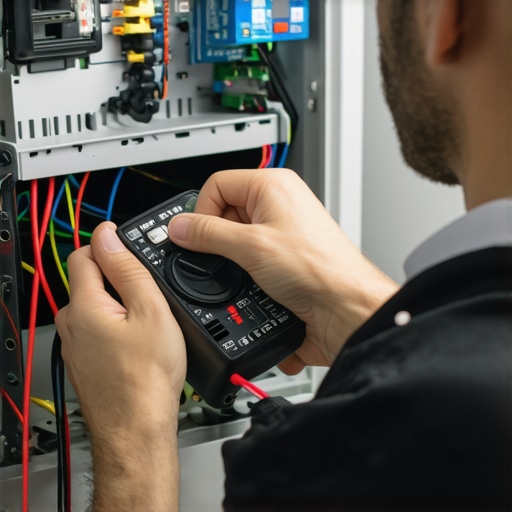
How Do I Keep My Dishwasher and Oven Running Smoothly Over Time?
Maintaining your appliances isn’t just about fixing them when they break; it’s about establishing a routine that prolongs their lifespan and ensures consistent performance. One of my go-to strategies involves investing in high-quality diagnostic tools that allow me to troubleshoot effectively without unnecessary parts replacements. For instance, a reliable digital multimeter, like the Fluke 117, provides precise voltage and resistance readings, which are crucial when testing components such as heating elements or control boards. Using specialized tools saves time and prevents misdiagnosis, ultimately saving money over the long term.
Aside from testing devices, software has become an indispensable part of modern diagnostics. Programs like diagnostic software help decode error codes and interpret sensor data, streamlining the troubleshooting process. Combining hardware tools with expert knowledge accelerates repairs and improves accuracy, making maintenance more manageable even for DIY enthusiasts.
Long-term results depend greatly on preventive upkeep. Regularly descaling dishwashers with vinegar-based solutions or using water softeners—especially in hard water areas—can prevent mineral encrustations that impair drainage and heating. Similarly, periodically inspecting oven seals and cleaning oven vents reduce energy consumption and prevent uneven baking. These small habits contribute to the appliance’s efficiency and longevity, reducing costly emergency repairs.
Scaling older appliances is inevitable, but knowing when and how to upgrade parts can significantly extend their usability. Replacing worn-out components like thermostats, drain pumps, or control boards with OEM parts available through trusted suppliers ensures compatibility and durability. Always consult technical diagrams or reliable guides, such as this resource, before undertaking complex replacements.
What Tools Will Make My Repairs Easier and More Accurate?
When it comes to fixing appliances, my primary recommendation is a high-quality multimeter coupled with a set of precision screwdrivers. The multimeter is essential for verifying electrical continuity and voltage levels, helping identify faulty wiring or defective components. For example, testing a dishwasher’s drain solenoid for electrical failure becomes straightforward with the correct meter readings, as detailed in here.
On the mechanical side, a set of standoff drivers and specialty sockets simplifies disassembly, reduces the risk of stripping screws, and accelerates work. Additionally, an infrared thermometer allows quick temperature checks of oven elements, ensuring proper heat distribution without extensive dismantling. I personally favor tools from brands like Wiha and Klein for their longevity and precision.
Looking ahead, I predict smart diagnostic devices integrated with smartphone apps will become the norm, offering instant troubleshooting tips based on collected data. For now, combining proven mechanical tools with basic electrical testers remains the best approach. Try using a multimeter to verify your oven’s temperature sensor—it’s a game-changer in diagnosing heat spikes or inconsistencies and can save you from replacing expensive parts unnecessarily.
In summary, efficient maintenance and precise diagnostic tools form the backbone of reliable appliance repair. They empower you to catch issues early, execute repairs confidently, and ultimately extend the life of your kitchen investments. For a comprehensive understanding and step-by-step guidance, review this detailed resource and put one advanced diagnostic tip into practice today—like testing your washer’s drain pump with a multimeter.
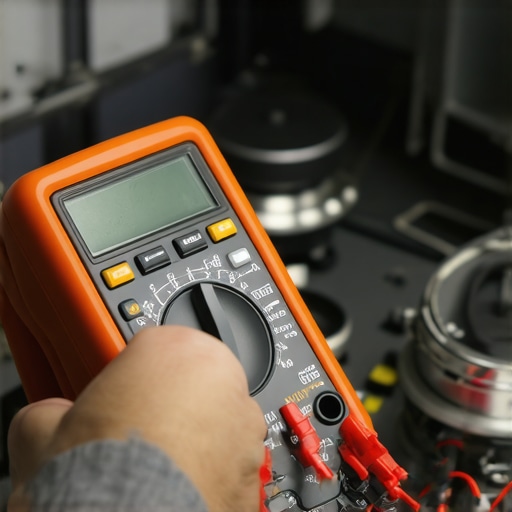
Lessons That Changed My Approach to Appliance Repair
- One of my biggest lessons was realizing that symptoms often hide complex interplays between multiple components. Diagnosing a slow-draining dishwasher, for instance, isn’t just about checking the drain pump—it requires understanding the entire system, including sensors, control modules, and external water quality influences. Recognizing these connections saved me countless hours and unnecessary replacements.
- Avoiding the trap of presuming only one faulty part is responsible is crucial. I once replaced a drain motor only to find the real issue was a blocked float switch or a clogged filter. It taught me that sometimes, the seemingly minor culprits can cause the most significant problems, and a thorough examination is worth the effort.
- Patience surpasses rushing to replace parts. Learning to methodically test components with reliable tools, like a good multimeter, based on detailed diagnostic guides, builds confidence and precision. Over time, this disciplined approach reduces costs and improves repair success rates.
Tools and Guides That Elevate My Repair Game
- Fluke 117 Multimeter: Its accuracy and durability make it my go-to for electrical testing, especially when verifying drain pumps or control boards. This tool helps me catch issues that visual inspections can miss.
- Comprehensive diagnostic resources: The article this guide has become my trusted reference. It bridges the gap between theory and hands-on troubleshooting, ensuring I don’t overlook subtle faults or misinterpret signals.
- Specialized repair manuals and diagrams: Having access to detailed schematics, whether digital or printed, saves me from guesswork, especially when dealing with complex models or rare faults.
- Water testing kits and cleaning supplies: Regularly descale and test water quality, because mineral buildup can mimic electrical faults and cause misdiagnoses.
Your Next Step with Confidence and Purpose
Every appliance repair journey teaches us something new, especially when we pay attention to the subtle signs and system interactions. Embrace the challenge of diagnostics with patience, precision, and the right tools. Remember, mastering these skills isn’t just about fixing a machine—it’s about transforming frustration into expertise and confidence. Take that step today, experiment responsibly, and let your growing knowledge make every repair smoother and more rewarding.
What was the most surprising insight you discovered during your last repair? Share your experience below—I’d love to hear how you solved stubborn appliance issues!