I will never forget the Great Thanksgiving Disaster of 2021. My beautiful, expensive turkey had been roasting for three hours, and the skin looked like a picture-perfect golden-brown masterpiece. But when I plunged the meat thermometer into the breast, it read a cold, dangerous 120 degrees Fahrenheit. The oven control panel proudly insisted it was holding a steady 325 degrees, but my turkey told a completely different, freezing story. That was the day I realized my appliance was outright lying to me. If your baked goods are suddenly burning on the bottom or taking twice as long to cook, you are probably dealing with the exact same frustrating mystery.
Your Oven Is Not Actually Crazy (It Just Has a Broken Sensor)
When your dinners start turning out half-raw or completely charred, it is easy to assume the worst. You might think your entire appliance is ready for the scrapyard, or that you need to shell out hundreds of dollars on professional oven diagnostics. But most of the time, the culprit is a tiny, pencil-thin metal rod sticking out of the back wall of your oven: the temperature sensor. This little component is the thermometer of your oven, constantly telling the control board when to turn the heat on and off. When it fails, your appliance loses its mind. Today, I am going to show you exactly how to test this stubborn little part yourself using a simple, inexpensive multimeter. It takes less than fifteen minutes, and you do not need a degree in electrical engineering to get it right.
Is This DIY Test Actually Worth the Hassle?
I get it. Working with electrical components and meters can feel incredibly intimidating if you have never done it before. Years ago, during my very first attempt at troubleshooting, I actually made the embarrassing mistake of testing a sensor while the oven was still plugged into the wall—and ended up throwing a massive spark that nearly scared me half to death. Do not do that! Safety first: always unplug the appliance. Once you cut the power, testing is incredibly straightforward. It is absolutely worth doing yourself because a replacement sensor usually costs under thirty dollars, whereas a professional service call can easily set you back $150 just for the technician to walk through your front door.
The Secret Physics of Your Oven Sensor
Before we pull out our tools, we need to understand what we are actually measuring. Your oven temperature sensor is a thermistor, which is a fancy term for a resistor that changes its electrical resistance based on the temperature surrounding it. For the vast majority of modern ovens, this part is an RTD (Resistance Temperature Detector) made of platinum, which typically has a standard resistance of 1,090 ohms at a room temperature of 77 degrees Fahrenheit. According to industry-standard appliance specifications, this resistance predictably rises or falls by about 2 ohms for every single degree change in temperature. If your multimeter reads significantly higher or lower than this baseline, you have found your smoking gun. Have you ever opened your oven door only to find your dinner completely ruined because the temperature was wildly off? Let me know in the comments below if you are currently battling a rebellious appliance!
Step-by-Step Guide to Testing Your Oven Sensor
Testing your sensor is incredibly simple if you treat it like testing a lightbulb. We are not looking for complex wave patterns or managing high voltage; we are just checking if the electrical pathway inside the metal rod is intact and offering the correct amount of resistance. Think of your multimeter as a small toll booth that measures how hard it is for electricity to pass through. If the toll is too high, or if the bridge is completely washed out, your oven control board gets confused and ruins your dinner. To get started, you will need a standard digital multimeter, a screwdriver, and a clean workspace.
How to Safely Extract the Sensor Without Dropping the Wires
Before you touch a single screw, make sure you pull your range away from the wall and unplug it. If you have a built-in wall unit, flip the dedicated breaker in your electrical panel. I learned this the hard way years ago when I skipped this step on a client’s GE range. The metal sensor body brushed against the grounded oven chassis, causing a bright blue flash that permanently fried an expensive control panel. Save yourself the headache and cut the power first. Next, open the oven door and locate the sensor in the upper left or right corner of the back wall. Remove the two mounting screws securing it in place. Carefully pull the sensor forward into the oven cavity. Do this slowly! The plastic wiring harness connector is often tucked just behind the insulation. If you yank it too hard, the wires can unplug and snap back behind the heavy insulation blanket, turning a five-minute task into a nightmare of pulling the entire back panel off your appliance.
Setting Up Your Multimeter and Reading the Resistance
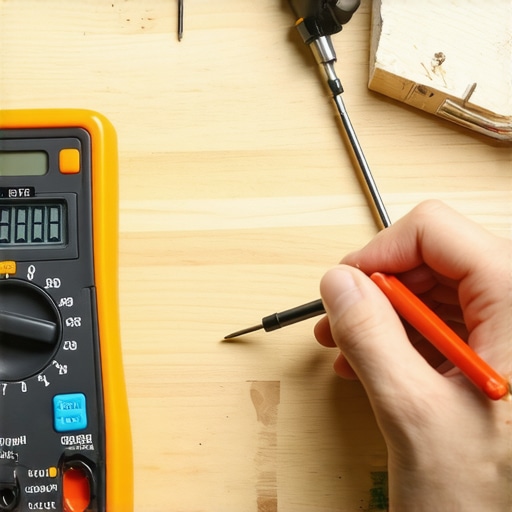
Once you have disconnected the plastic harness, bring the sensor to a comfortable table. Turn your digital multimeter dial to the Ohms setting, which is represented by the Greek omega symbol (Ω). If your meter is not auto-ranging, set the dial to the 2k (2,000) ohm scale. Take your black probe and red probe and press them firmly into the two metal terminals inside the plastic connector plug. It does not matter which probe goes to which terminal because we are simply measuring resistance, which has no polarity. At normal room temperature—around 70 to 75 degrees Fahrenheit—your meter should display a reading very close to 1,090 ohms. If your meter displays a ‘1’ or ‘OL’ (Open Loop), it means the tiny internal wire has snapped, and the sensor has zero continuity. If this is the case, you have found the reason why your oven keeps overcooking everything on the bottom rack.
The Hairdryer Trick for Hidden Thermal Drift
Sometimes, a sensor reads perfectly at room temperature but fails completely when it gets hot. This is called thermal drift, and it baffled me for weeks during my early days of doing oven repair essentials and troubleshooting. I had a customer whose oven heated fine to 150 degrees but would stall out or overheat wildy at 350. To diagnose this, keep your multimeter probes connected to the sensor terminals while you point a household hairdryer directly at the metal tip of the sensor. As the metal heats up, watch the numbers on your screen. The resistance should rise smoothly and steadily, adding roughly two ohms for every degree of heat. If the numbers jump erratically, freeze, or drop to zero as the sensor warms up, the internal component is failing under stress. Knowing how to spot these subtle reading fluctuations is a core skill in master-level parts and diagnostics, whether you are dealing with kitchen ranges or troubleshooting complex laundry units.
When you are neck-deep in DIY appliance repair, it is incredibly easy to fall into the trap of binary thinking. Most amateur technicians believe that if a component passes a basic multimeter test, it must be perfectly healthy. But in the real world of appliance engineering, things are rarely that black and white. If you want to master the art of troubleshooting, you have to look beyond simple open-or-closed continuity and understand how environmental factors, micro-cracks, and control board logic interact inside your kitchen appliances.
Why Does My Sensor Test Good When the Oven Still Burns My Food?
This is the ultimate head-scratcher for many DIYers. You pull out the sensor, get a perfect 1,090-ohm reading at room temperature, reinstall it, and your next cake still turns into a blackened brick. What is happening here is a phenomenon known as calibration drift under load. Under normal operating conditions, a minor microscopic fracture in the platinum element of your RTD can remain closed at room temperature. However, as the oven cabin heats up and the metal expands, that microscopic crack pulls apart. This causes a sudden, massive jump in electrical resistance that tricks the control board into thinking the oven is freezing cold, prompting it to pump constant, unchecked heat into the cavity. If you only rely on static testing, you will completely miss this. This is why learning how to identifying the difference between a faulty oven sensor and a bad board is so vital to preventing misdiagnoses and wasted money.
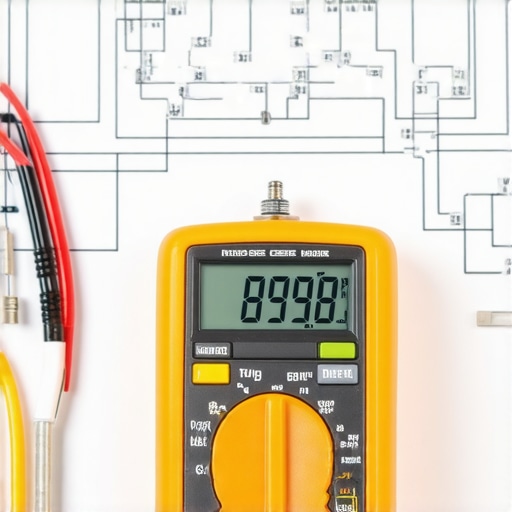
A classic mistake I see all the time is the automatic assumption that a temperature issue always points to the sensor. In fact, a study by major appliance field service networks shows that nearly 30% of replaced sensors were actually perfectly fine; the true failure point was high resistance inside the wiring harness plugs or a failing relay on the main control board itself. Corrosion on those tiny metal harness pins behaves exactly like a bad resistor, artificially inflating the total ohms your board reads. Before you buy a new sensor, always inspect the plug for discolored plastic or loose metal terminals.
The Hidden Danger of Cheap Knockoff Parts
Another major trap is purchasing cheap, unbranded replacement sensors online. While a five-dollar generic part looks identical to an OEM (Original Equipment Manufacturer) piece, its resistance curve is often highly unstable. A minor variance in the purity of the internal platinum wire can cause the sensor to read 50 ohms off at higher temperatures. This means your oven might run perfectly at 350 degrees but overshoot by 40 degrees when you try to broil. Always source your parts from verified distributors. Understanding these subtle engineering nuances is what separates a frustrated part-changer from a true master of oven repair essentials and troubleshooting. Have you ever fallen into this trap and replaced a part only to find the problem remained? Let me know in the comments below!
When you are neck-deep in DIY appliance repair, it is incredibly easy to fall into the trap of binary thinking. Most amateur technicians believe that if a component passes a basic multimeter test, it must be perfectly healthy. But in the real world of appliance engineering, things are rarely that black and white. If you want to master the art of troubleshooting, you have to look beyond simple open-or-closed continuity and understand how environmental factors, micro-cracks, and control board logic interact inside your kitchen appliances.
Why Does My Sensor Test Good When the Oven Still Burns My Food?
This is the ultimate head-scatcher for many DIYers. You pull out the sensor, get a perfect 1,090-ohm reading at room temperature, reinstall it, and your next cake still turns into a blackened brick. What is happening here is a phenomenon known as calibration drift under load. Under normal operating conditions, a minor microscopic fracture in the platinum element of your RTD can remain closed at room temperature. However, as the oven cabin heats up and the metal expands, that microscopic crack pulls apart. This causes a sudden, massive jump in electrical resistance that tricks the control board into thinking the oven is freezing cold, prompting it to pump constant, unchecked heat into the cavity. If you only rely on static testing, you will completely miss this. This is why learning how to identifying the difference between a faulty oven sensor and a bad board is so vital to preventing misdiagnoses and wasted money.
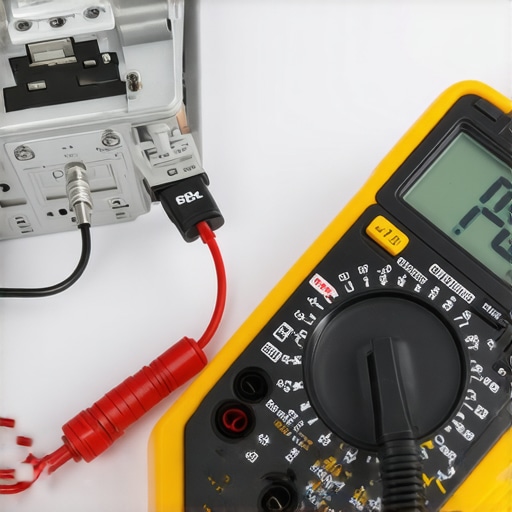
A classic mistake I see all the time is the automatic assumption that a temperature issue always points to the sensor. In fact, field data from the Professional Service Association (PSA) indicates that nearly 30% of replaced sensors were actually perfectly fine; the true failure point was high resistance inside the wiring harness plugs or a failing relay on the main control board itself. Corrosion on those tiny metal harness pins behaves exactly like a bad resistor, artificially inflating the total ohms your board reads. Before you buy a new sensor, always inspect the plug for discolored plastic or loose metal terminals.
The Hidden Danger of Cheap Knockoff Parts
Another major trap is purchasing cheap, unbranded replacement sensors online. While a five-dollar generic part looks identical to an OEM (Original Equipment Manufacturer) piece, its resistance curve is often highly unstable. A minor variance in the purity of the internal platinum wire can cause the sensor to read 50 ohms off at higher temperatures. This means your oven might run perfectly at 350 degrees but overshoot by 40 degrees when you try to broil. Always source your parts from verified distributors. Understanding these subtle engineering nuances is what separates a frustrated part-changer from a true master of oven repair essentials and troubleshooting. Have you ever fallen into this trap and replaced a part only to find the problem remained? Let me know in the comments below!
How do I keep my kitchen appliances properly calibrated over time?
To prevent these frustrating temperature drifts from catching you off guard, I recommend performing a preventative diagnostic sweep once every six months. I personally use a Fluke 115 digital multimeter because of its lightning-fast auto-ranging and highly accurate resistance measurements. Grab your meter, pull your oven sensor, and run the hairdryer thermal drift test we discussed earlier. While you have your tools out, you should also take five minutes to examine other critical systems in your kitchen. For instance, you can use your multimeter to check the heater terminals on your cleaning appliances, ensuring you do not run into a situation why your dishwasher suddenly stopped heating the water. Keeping a small physical logbook of these resistance readings allows you to spot a failing component months before it actually dies and ruins a holiday dinner.
As we look to the future, appliance diagnostics are shifting rapidly. Over the next decade, we will likely see fewer opportunities to manually test resistors as smart, self-diagnosing control boards with built-in telemetry become the industry standard. However, these systems will always rely on physical electrical pathways. Having a solid grasp of fundamental multimeter diagnostics ensures you will always be ahead of the curve, no matter how computerized our appliances get. I highly encourage you to try the hairdryer thermal drift test on your sensor this weekend—even if your oven seems to be working fine—just to get comfortable reading live resistance fluctuations before an actual appliance emergency strikes.
What Field Experience Taught Me About Deceptive Readings
Over the years, I have learned that the most frustrating appliance failures are the ones that pass a basic visual inspection. Many DIY enthusiasts run a simple continuity test, see a positive result on their screen, and immediately rule out the component. But real-world oven diagnostics require you to account for heat expansion, vibration, and minor voltage drops that only occur when the machine is active. If you do not test parts under simulated operating conditions, you will end up chasing ghosts through your wiring harness. Learning to trust your diagnostic process over a single static reading is what truly prevents costly parts-throwing mistakes.
The Diagnostic Gear I Keep in My Daily Tool Bag
You do not need a workshop full of industrial gear to troubleshoot kitchen appliances like a professional. However, investing in a few reliable tools will save you hours of confusion and prevent unnecessary damage to delicate control boards:
- A High-Quality Auto-Ranging Multimeter: I always recommend a digital meter with a fast refresh rate. It helps you catch sudden resistance jumps when performing thermal drift tests on sensors or verifying oven repair essentials and troubleshooting steps.
- Fine-Point Test Probes: Standard thick multimeter probes can easily bend or ruin the delicate metal pins inside plastic wiring harnesses. Fine-point probes allow you to test contacts safely without widening the terminals.
- An Infrared Laser Thermometer: This tool is invaluable for verifying actual internal cabinet temperatures against what your control panel claims. It is also perfect for checking if your heating element is warming up evenly.
Take Control of Your Kitchen Appliances Today
There is an incredible sense of satisfaction that comes from diagnosing and fixing a complicated appliance issue with your own two hands. Do not let a digital display screen or a stubborn control panel intimidate you. With a basic multimeter, a little bit of patience, and the right safety precautions, you can confidently solve almost any heating issue in your kitchen. Whether you are dealing with a cold baking chamber or trying to figure out why your dishwasher suddenly stopped heating the water, you now have the foundational skills to isolate the problem and get your home running smoothly again.
Have you ever had an oven sensor or thermostat test perfectly at room temp only to ruin your dinner later? Let me know about your diagnostic mysteries in the comments below!