I’ll never forget the afternoon my toddler almost touched the glass of our range while I was roasting a chicken. My heart stopped. Usually, the glass gets warm, sure, but this was different—heat was radiating off it like a desert sun. I actually burned the tip of my knuckle just checking if it was as bad as it looked. If your oven glass feels like it’s ready to sear a steak, you aren’t just imagining things. It is a genuine safety hazard and a sign that your appliance is working way harder than it needs to. I spent weeks ignoring my own scorching door before I finally dove into some oven diagnostics, and let me tell you, I felt pretty silly once I realized how easy the fix was. Today, I’m going to help you figure out exactly why that glass is overheating and how to stop your kitchen from turning into a sauna. [IMAGE_PLACEHOLDER]
Your Oven Shouldn’t Feel Like a Space Heater
We often assume that because there’s a fire or a 400-degree element inside a box, the outside is supposed to be hot. That’s a myth I believed for way too long. In reality, modern ovens use a sophisticated system of insulation, heat shields, and cooling fans to keep that exterior surface safe. When that glass starts to sizzle, it’s usually because one of these silent protectors has clocked out. One big mistake I made early on was assuming my oven was just “old.” I didn’t realize that finding the right part number for an oven door gasket could be the difference between a cool kitchen and a melted plastic spatula nearby. Have you ever had to jump back because your oven door felt like a hot frying pan? It’s a common frustration, but it’s definitely not “normal.”
Is a scorching oven door actually dangerous?
It absolutely can be. According to the UL 858 safety standards for household electric ranges, the maximum temperature for a glass oven door surface should generally stay within a safe margin to prevent serious burns, typically not exceeding 152°F (67°C) under normal conditions. If yours is significantly hotter, you’re looking at more than just a burn risk; you’re looking at potential damage to your kitchen cabinets and a massive spike in your energy bill. Before you start panicking and shopping for a new range, we need to look at the simple stuff first, like testing your ovens high-limit thermostat or checking for blocked vents. Often, the culprit is just a bit of grime or a worn-out seal that’s letting the dragon out of the cave. Let’s get under the hood and see what’s really going on.
Start by hunting down the heat leaks
Think of your oven door gasket like the weatherstripping on your front door in the middle of winter. If that seal is compromised, the heat doesn’t stay tucked inside the cavity; it rushes out with incredible force, and the glass is the first thing it hits. I once tried to save twenty bucks by just tucking a loose, frayed seal back into the groove with a butter knife instead of replacing it. That was a huge mistake. Within thirty minutes of roasting, the heat escaping from the top edge was so intense it actually started to melt the plastic overlay on my digital control panel. That’s when I learned that fixing the steam leak from your oven doors top edge isn’t just about energy efficiency—it’s about protecting the expensive electronics on the front of your range. If you feel a breeze of hot air when the door is shut, you’ve found your primary culprit.
Examine the rubber seal for invisible gaps
To get started, wait for the unit to be completely cool and run your fingers along the entire length of the gasket. You are looking for “flat spots,” brittle sections that crack under pressure, or areas where the rubber has lost its springiness. If the gasket feels hard like a plastic toy rather than soft like a new rubber band, it can no longer compress to create an airtight seal. This is a common point in oven repair essentials troubleshooting common issues with parts. You must be precise here; finding the right part number for an oven door gasket is vital because even a quarter-inch difference in thickness can prevent the door latches from pulling the glass tight against the frame. 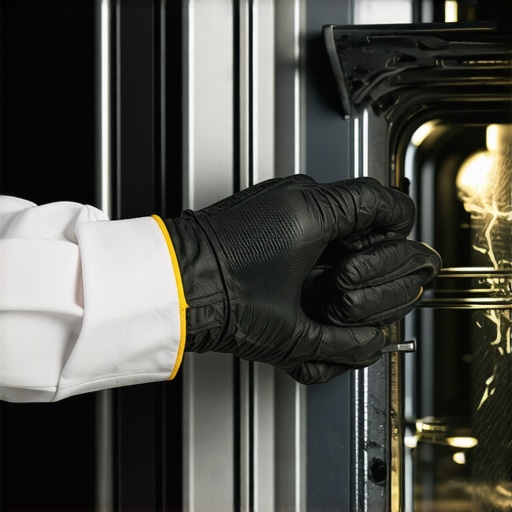
Give your oven some room to breathe
Your oven is essentially a giant, controlled fire box that needs to exhaust heat. If the air vents—usually located under the control panel or along the bottom of the door—are blocked by layers of dried grease or spilled holiday casseroles, that heat has nowhere to go but into the glass panes. Use a soft brush or a vacuum to clear these passages. While you are inspecting the interior, take a moment to look at the walls. If you notice why your oven interior is peeling and what to do, it might be a sign of hot spots reflecting heat toward the door. Similarly, how to check your ovens bake element for tiny blisters is a smart diagnostic step, as a failing element can sometimes stay “on” too long, overwhelming the oven’s ability to dissipate heat.
Why a dead cooling fan ruins everything
Many modern, high-end ranges use a dedicated cooling fan (separate from the convection fan) that triggers as soon as the oven reaches a certain temperature. Its sole job is to blow cool air through the door’s glass layers to keep the exterior touchable. If your oven stays quiet and you don’t hear a light hum shortly after preheating, that fan motor might be seized. This is a deeper level of oven diagnostics pinpointing faults before calling a repair expert. Often, a bit of dust buildup or a loose wire connection is all that stands between you and a cool oven door.One of the biggest traps I see DIYers fall into is the ‘binary element’ myth. Everyone assumes an oven element is like a lightbulb—it either glows or it doesn’t. In my experience, that’s rarely the whole story when a door is overheating. Elements can develop ‘hot spots’ where the internal resistance changes, causing one section to radiate way more heat than intended. This is why how to test your ovens bake element for hot spots is such a critical skill. I’ve seen cases where a visually ‘fine’ element was actually the reason the glass was hitting dangerous temperatures because it was forcing the oven to cycle inconsistently. If you are seeing uneven browning on your cookies along with that hot glass, you should also be testing an oven bake element for invisible cracks that only expand when the metal is hot. This nuance is often overlooked in basic oven repair essentials troubleshooting common issues with parts.
Does a ‘sticky’ relay explain your overheating door?
If your gasket is new and your vents are clear, the culprit might be hiding on the brain of the machine. A common nuance people miss is a ‘sticky’ relay on the control board. If the relay that powers the element gets stuck in the closed position, the element stays on even after the thermostat tells it to stop. This leads to runaway temperatures that the door insulation simply wasn’t designed to handle. Before you toss the whole unit, spend some time learning how to tell if your oven control board is actually fried or specifically how to identify a bad oven relay on the control board. According to research by the Association of Home Appliance Manufacturers (AHAM), many appliance ‘failures’ are actually secondary symptoms of control board miscommunications where the logic fails to cycle the power effectively.
The hidden danger of blocked intake vents
Another huge mistake is focusing solely on the door glass itself. I once helped a friend who was convinced her oven was broken because the glass was scorching, only to find she had installed a decorative trim during a kitchen remodel that blocked the bottom air intake. Your oven needs a constant stream of cool air to move between the glass panes via the ‘chimney effect.’ If that airflow is restricted, the heat builds up in the dead space between the glass layers. 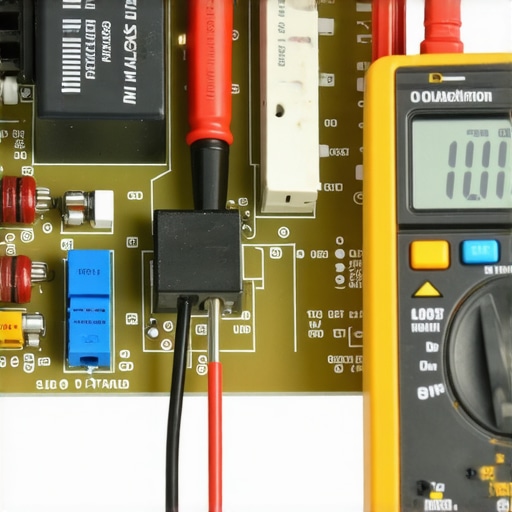 While you’re at it, check the top of the door; fixing the steam leak from your oven doors top edge is often more about restoring airflow than just stopping steam.
Why chemical cleaners might be ruining your seals
Here is an ‘oops’ factor I learned the hard way: using the wrong chemicals on your door. I once used a heavy-duty industrial degreaser to get rid of why your oven glass is covered in brown streaks, not realizing that the overspray was eating away at the adhesive and the rubber integrity of the gasket. Within a month, the seal was brittle and the glass was hotter than ever. If you’ve been aggressive with cleaners, you might need to look into finding the right part number for an oven door gasket sooner than you think. Also, never try how to replace a blown light bulb inside a hot oven or clean while it’s warm; the thermal shock can actually contribute to micro-fractures in the glass.
The trap of the ‘universal’ replacement gasket
I’ve seen people try to use generic ‘cut-to-fit’ gaskets, which is a massive mistake. These often don’t have the internal wire reinforcement needed to hold their shape under high heat. If you’re finding the correct replacement gasket for an old gas oven, stick to OEM-spec parts. The thickness of that rubber is calculated down to the millimeter to ensure the door latches apply exactly the right amount of pressure. Too thin, and you have a leak; too thick, and you’ll end up why your oven door wont stay shut a hinge repair guide because you’ve bent the hinge receivers. If you’ve tried the basics and it’s still too hot to touch, that’s usually the point when to skip the diy and call a professional oven technician. Deep oven diagnostics pinpointing faults before calling a repair expert can save you hundreds, but knowing your limits is part of being an expert. Have you ever replaced a part only to find the problem was something completely unrelated? Let me know in the comments—I’d love to hear your DIY war stories!If you’re serious about never getting burned again—literally or figuratively—you need to stop guessing and start measuring. I used to rely on my ‘gut feeling’ to decide if a part was bad, but that just led to a garage full of half-working spares. Now, I don’t move a muscle without my digital multimeter. It is the single most important tool for any home repair because it turns a mystery into a math problem. For instance, using 5 multimeter tricks for diagnosing a dead control board can tell you in seconds if the board is actually sending power to your heating elements or if it’s just ‘thinking’ it is. When my door glass was overheating, I used an infrared thermometer to map the temperature across the surface, which helped me realize the heat was concentrated at the top—a dead giveaway that the seal was failing. According to the Whirlpool Electric Range Service Manual (Job Aid #4322081), specific thermal fuses are designed to trip at 315°F to prevent cabinet damage; if your door is scorching but the fuse hasn’t popped, you are likely dealing with an airflow restriction or a runaway element that hasn’t quite hit the ’emergency’ threshold yet. 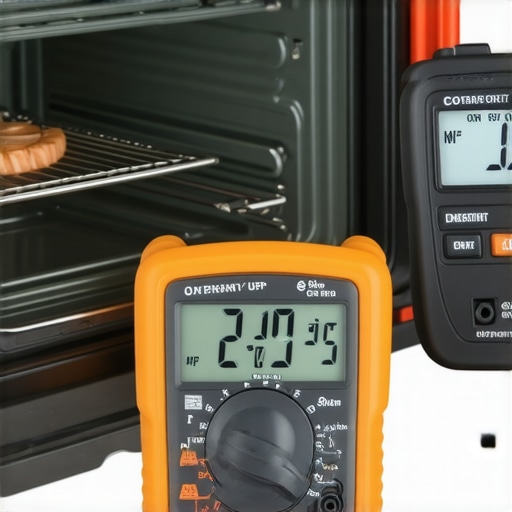
How do I maintain my oven’s heat seal over time?
Maintenance isn’t just about cleaning up spills; it’s about mechanical integrity. Every few months, you should perform a ‘paper test’—close the door on a slip of paper and try to pull it out. If it slides out easily, your hinges are losing their tension. I’ve found that how to lubricate sticky oven door hinges safely is a task most people ignore until the door starts hanging crooked. If the hinges are fine but the gap persists, you might need to follow a why your oven door wont stay shut a hinge repair guide to reset the alignment. Additionally, don’t forget the brain of the operation. Periodically testing your oven temperature sensor without calling a pro ensures the appliance isn’t overshooting its target temperature and putting extra stress on the glass.
The future of fixing your own appliances
We are moving toward an era of ‘smart diagnostics’ where your oven might actually send a notification to your phone saying, ‘Hey, my cooling fan is spinning 20% slower than it should.’ While that tech is exciting, it also makes oven diagnostics pinpointing faults before calling a repair expert even more critical because you’ll need to know how to interpret that data. I predict we will see more modular parts that allow us to swap out individual relays rather than entire $300 boards. For now, staying ahead of the curve means knowing how to inspect your oven control board for burn marks before a small short becomes a major fire hazard. My best advice? Grab a multimeter this weekend and check the resistance on your sensor even if the oven is working fine. Knowing what ‘healthy’ looks like makes it a lot easier to spot ‘broken’ when things eventually go south.
What My Melted Spatula Taught Me About Oven Safety
After years of tinkering with appliances, I’ve realized that a scorching door is rarely just one isolated problem; it’s usually a failure of the entire cooling ecosystem. Here are the lightbulb moments I wish I had understood on day one:
- Heat follows the easiest path. If your oven door isn’t aligned perfectly, heat will find that microscopic gap and blast the glass. I learned that how to lubricate sticky oven door hinges safely is often the first step to ensuring the door actually closes tight enough to engage the seal properly.
- The Invisible Airflow Factor. We often focus on the glass itself, but the problem is frequently the air movement behind the glass. If your vents are even 10% blocked by layers of kitchen grease, the chimney effect that cools the door panes fails completely.
- Don’t trust your eyes alone. A heating element can look perfectly fine but have internal resistance issues that cause it to run too hot. This is why oven repair essentials troubleshooting common issues with parts must always include a multimeter check, not just a visual inspection.
- The Ghost in the Machine. Sometimes the door glass is hot because the oven is simply lying to you. I spent hours on a door issue once only to find that testing your oven temperature sensor without calling a pro would have shown the oven was actually 75 degrees hotter than the display claimed.
Gear That Keeps Your Kitchen Cool and Your Wallet Full
If you want to stop guessing and start fixing like a professional, there are a few things I never walk into a kitchen without. First, a reliable digital multimeter is non-negotiable. It takes the mystery out of the repair and gives you hard data. If you aren’t sure where to begin, start with 5 multimeter tricks for diagnosing a dead control board to build your technical confidence. Second, get an inexpensive infrared thermometer. It lets you map exactly where the heat is escaping around the door without ever having to touch a hot surface. Finally, I always keep my specific model’s parts diagram bookmarked on my phone. It makes oven diagnostics pinpointing faults before calling a repair expert much faster when you know exactly how the insulation layers were originally designed to sit.
Stop Living in a Sauna and Start Repairing
It is easy to feel intimidated by an appliance that generates enough heat to sear meat, but remember: your oven is just a collection of simple parts designed to work in harmony. When that harmony breaks, you have the capability to restore it. By taking the time to check your seals, clear your vents, and test your electronic components, you aren’t just fixing a machine—you’re making your home significantly safer. Don’t let a hot oven door keep you from enjoying your kitchen. With a little patience and the right oven repair essentials troubleshooting common issues with parts, you can master your appliance and get back to cooking without the burn risk.
Have you ever discovered a surprisingly simple reason why your oven door was overheating? Let me know in the comments below—I’d love to hear your success stories!