I stood in my kitchen at 11 PM, glaring at the ’20 minutes remaining’ display on my dishwasher. It had been twenty minutes for at least an hour. I felt like I was stuck in some sort of suburban purgatory where the hum of the wash cycle was the only soundtrack to my life. I’ve been right where you are—exhausted, annoyed, and wondering if it’s time to just give up and buy a new machine. I used to think that when a dishwasher started taking three or four hours to finish a load, it was just reaching the end of its natural life. I was wrong. The reality is often much simpler, and usually, it is something you can handle yourself without spending a fortune on a service call. Today, I’m going to help you reclaim your evening by pinpointing exactly why your machine has slowed to a crawl.
Stop Watching the Clock and Start Fixing the Cycle
[IMAGE_PLACEHOLDER] Most people assume a long cycle is a sign of a failing motor or some catastrophic internal collapse. I made that exact mistake years ago, nearly hauling a perfectly repairable unit to the curb because I didn’t understand how these things actually ‘think.’ Modern dishwashers are equipped with turbidity sensors and thermostats that act like a brain. If the water isn’t hitting the right temperature or if the sensor thinks the water is still ‘dirty,’ it will just keep the cycle running. It’s trying to be helpful, but it ends up being a massive headache. According to the experts at Energy Star, while longer cycles are a hallmark of high-efficiency machines designed to save water, a cycle that suddenly doubles in length is a clear indicator of a component failure or a blockage. Have you noticed your timer sticking on one specific minute for ages, or are you just hearing it run without any progress? If you’re tired of the mystery, you need to start identifying dishwasher faults quickly so you can get back to your life.
Is My Dishwasher Actually Broken or Just Being Stubborn?
It’s natural to feel a bit skeptical. You might worry that any repair is going to be too complex or that the machine is just ‘done.’ But trust me, I’ve seen units that were supposedly ‘dead’ come back to life with just a bit of attention to the right areas. Early in my DIY journey, I once replaced an entire control board—a pricey mistake—only to find out the real issue was a tiny bit of debris in the sump. It was a humbling lesson and it taught me to always check the basics first. I spent hours learning about dishwasher parts to avoid that kind of waste again. Often, the culprit is the heating element. If the water does not reach the target temperature, the cycle will not advance because the detergent won’t dissolve properly. You can actually test the resistance on your heating element with a simple tool to see if it is the reason for your delay. Understanding the reasons your dishwasher is taking three hours is the first step toward a fix. We aren’t just guessing here; we’re using logic to beat the machine at its own game.To beat the machine, you have to look at the parts that dictate the cycle speed. Most of the time, that involves checking the temperature. If the water isn’t hot enough, your dishwasher enters what we call a ‘thermal hold.’ It literally pauses the clock until the internal water temperature reaches about 140°F. If your heating element is caked in mineral deposits or has a hairline fracture, it takes forever to get there—or never does.
Force the Timer to Move by Fixing the Heat
To diagnose this, you should begin by testing the resistance on your dishwasher heating element using a multimeter. A reading outside the manufacturer’s specified ohms (usually between 10 and 30 ohms) means the part is physically unable to do its job, forcing the dishwasher to extend the wash time indefinitely while it waits for a heat signal that will never come. 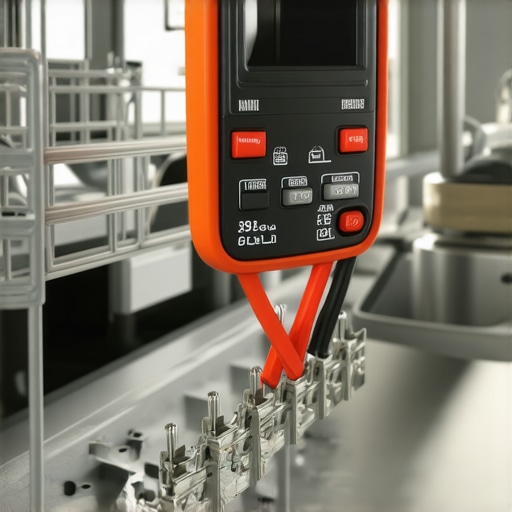
Clean the Filter Before You Buy a New Pump
I remember my first real DIY save. I was convinced the control board had fried because the machine stayed on the ‘Wash’ cycle for two hours without advancing. I had the replacement board in my online shopping cart when I decided to reach into the sump one last time. I pulled out a tiny, translucent piece of plastic from a toy—something I’d missed twice before. The moment it was gone, the machine finished its cycle in record time. This is why you must learn how to clean the hidden debris under your dishwasher filter before assuming a major component has failed. When the pump can’t move water efficiently because of a blockage, the turbidity sensors tell the machine that the water is still dirty, leading to those endless, repetitive cycles. If the water can’t flow, the machine just keeps trying.
Clear Your Air Gap in Seconds
If you’ve checked the heat and the filter but you’re still seeing water standing in the tub, look at the discharge path. A slow drain is a silent cycle-killer. If you see water backing up into your sink or hear a gurgling sound, it’s time to learn how to unclog your dishwashers air gap in five minutes. This little silver cylinder on your sink prevents dirty water from siphoning back into the tub. When it gets clogged with grease or food debris, it creates backpressure that confuses the drain pump. While you are working on the drainage system, keep an ear out for any strange noises; the signs of a dying circulation pump in your dishwasher often include a high-pitched whine or a rhythmic thumping that indicates the motor is struggling to push water through the spray arms.
Decode Hidden Error Messages
Modern machines are smarter than they look. If the cycle is lingering, there is often a code hidden in the display or the blinking lights. By learning about dishwasher parts and how they communicate, you stop being a victim of the ‘estimated time remaining’ display. If you’re still stuck, you need to find out how to identify dishwasher faults quickly using the button-press sequences that reveal these secret error codes. Understanding the reasons your dishwasher is taking three hours often boils down to these three variables: heat, flow, and filtration. Once you clear those hurdles, the timer will finally start behaving again.
Let’s dig deeper into why we often throw money at the wrong parts when the clock stops moving. Most DIYers assume the control board is the ‘brain’ that has developed a malfunction when cycles go wonky. In my experience, the board is actually the most over-diagnosed part in the kitchen. Everyone says to swap the computer first, but I have found that more often than not, the board is perfectly fine—it’s just receiving bad data from a $15 sensor. Before you drop $200 on electronics, you must learn how to tell if your control board is actually fried or if it’s just reacting to an external failure.
Is Your Multimeter Giving You a False Sense of Security?
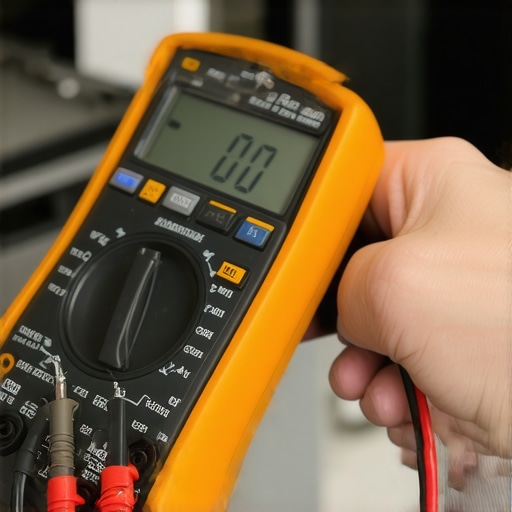
One of the most advanced mistakes I see people make involves testing for continuity. They see a ‘beep’ on their multimeter and assume the part is good. But here is the nuance: a heating element can have continuity but still be failing under load because of high resistance. This is why mastering 5 multimeter tricks for diagnosing a dead control board is vital for anyone who wants to stop guessing. If the resistance is slightly off, the dishwasher might still try to heat, but it will take three times longer, causing that dreaded timer freeze. According to a report by the Association of Home Appliance Manufacturers (AHAM), modern sensor-based appliances are designed to prioritize soil-level detection over set timers, meaning a single obscured turbidity sensor lens can add 60 minutes to a cycle without ever triggering an error code.
There is also a massive ‘oops’ factor that catches even the pros: the thermal fuse. If your dishwasher is completely unresponsive or stops mid-cycle and won’t restart, don’t buy a motor yet. You should be checking the thermal fuse on your dishwasher first. It’s a cheap safety device designed to blow if the machine gets too hot. If you replace the board without checking the fuse, you’ve just wasted an afternoon. Similarly, if you are also dealing with cooking appliances, you can apply these same diagnostic principles by testing your oven temperature sensor without calling a pro, as the logic of resistance and heat remains consistent across your kitchen suite.
The hidden trap here is assuming that ‘high-efficiency’ is a synonym for ‘forever.’ While it is true that modern units run longer to save water, they should not be inconsistent. If Monday’s load took two hours and Tuesday’s took four, you aren’t seeing ‘efficiency’—you’re seeing a component struggling to hit its benchmarks. Have you ever fallen into this trap and replaced a major part only to find a tiny fuse or a dirty sensor was the real culprit? Let me know in the comments. By shifting your focus from ‘it’s broken’ to ‘what is the sensor seeing,’ you’ll save hundreds of dollars and dozens of hours. If you’re still hitting a wall, don’t hesitate to contact us for more specific guidance on your model.
I’ve realized over the years that the difference between a successful DIY fix and a Saturday spent in frustration usually comes down to about three inches of chrome-vanadium steel. I’m talking about a long-reach, thin-wall socket set. Most modern dishwashers use 1/4-inch hex screws tucked into crevices so deep that a standard driver simply cannot reach them. If you are serious about dishwasher parts and DIY diagnostics, you need to stop using the multi-tool that came with your flat-pack furniture. I also swear by a telescopic inspection mirror with a built-in LED. When you’re trying to inspect your oven control board for burn marks without tearing the entire kitchen apart, that mirror is your only way to see the blackened traces of a short circuit hidden on the back of the PCB.
How do I keep my appliances running for decades?
Long-term reliability isn’t just about reactive repairs; it’s about understanding the synergy between your water quality and your components. Every six months, I make a habit of checking for scale buildup. If you live in a hard water area, you really should be clearing hard water deposits from your dishwasher walls and checking the spray arms for tiny blockages. According to technical documentation from the Service Technician Education Program (STEP), over 40% of heating element failures are preceded by significant mineral calcification. This scale acts as an insulator, forcing the element to run hotter than designed until the metal eventually snaps. This logic applies to your stove too; you can prevent a major blowout by pinpointing oven faults early, such as when you see tiny blisters on your bake element. Those blisters are the ‘early warning system’ that the internal wire is about to fail.
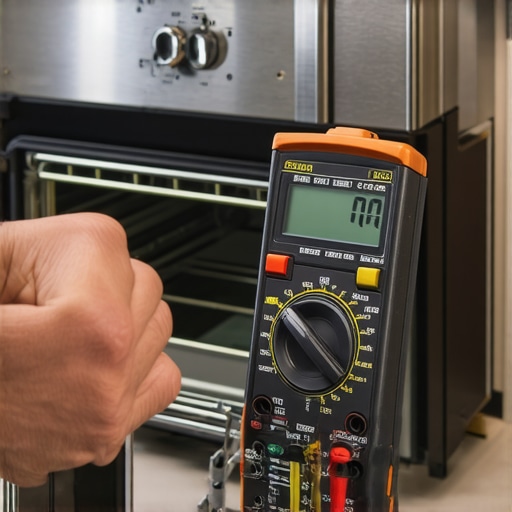
Looking ahead, the trend in appliance repair is shifting toward acoustic diagnostics and AI integration. We are moving toward a world where your smartphone will listen to the pitch of your drain pump and tell you exactly which bearing is failing before it ever leaks. But until that tech is standard, you have to be the sensor. If you notice your oven takes forever to preheat, don’t wait for it to stop working entirely. This is a classic sign of a partial component failure. You should also consider troubleshooting common oven issues like loose wiring or worn door gaskets that let heat escape. My biggest piece of advice? Go to your kitchen right now and check the kickplate of your dishwasher. Most manufacturers hide a ‘tech sheet’ or a circuit diagram in a small plastic baggy taped to the underside. Finding that sheet is like finding a treasure map—it contains the specific resistance values you need for your multimeter. Don’t let your appliances win; grab a mirror, find your tech sheet, and take control of your kitchen’s lifespan.
What the Repair Manuals Leave Out
After years of tinkering with kitchen mechanics, I’ve realized that the most common reason for a cycle failure isn’t always a physically broken part; it’s a communication breakdown between sensors. For instance, whether you are troubleshooting common oven issues or a stuck dishwasher, you must remember that sensors only report what they see. A perfectly functional sensor can “lie” to the control board if it’s covered in a thin film of grease or hard water scale. My lightbulb moment came when I stopped replacing parts and started cleaning the paths between them. I’ve learned that logic beats parts-swapping every time. Never buy a new component until you’ve confirmed it isn’t just a loose connection or a dirty lens. Also, listen to the rhythm: a hum means a motor is trying to turn, a click means a relay is engaging, but total silence usually points directly to a blown safety fuse or a tripped breaker.
My Field-Tested Diagnostic Kit
You don’t need a professional service van to keep your kitchen running smoothly. I trust these three items above all else: a reliable digital multimeter, a telescopic LED mirror, and the manufacturer’s tech sheet hidden behind the kickplate. If you take the time to learn dishwasher parts and DIY diagnostics, you transform from a frustrated homeowner into a capable technician. I also swear by keeping a small bottle of white vinegar on hand; often, a cycle that takes too long is simply fighting mineral buildup that a quick descaling could have prevented. I trust these tools because they provide objective data, taking the guesswork out of the repair and preventing me from wasting money on control boards I didn’t actually need.
Your Next Step Toward Appliance Mastery
Don’t let a blinking light or a stuck timer intimidate you. These machines are designed to be serviced, and with a little patience, you can master the art of identifying dishwasher faults quickly and accurately. Every time you successfully reset a cycle or clear a blockage yourself, you’re not just saving money; you’re gaining a valuable life skill that keeps your home running efficiently. If you ever find yourself staring at an error code that doesn’t make sense, don’t hesitate to contact us for more specific guidance. You have the tools and the knowledge—now it’s time to get that timer moving again. Have you ever found a ‘mystery object’ in your pump that was secretly causing your dishwasher to run for hours? Let me know in the comments below!