Ever had that moment in the kitchen when you’re about to load the dishwasher, only to find that your trusty rack adjuster has snapped or become completely useless? I remember the first time it happened to me. I was rushing to get dinner on the table, and there it was—my dishwasher rack hanging awkwardly because one of the adjusters had given up. Frustration set in. I thought, “Great, now I need a whole new rack, or worse, a costly repair.” But here’s the thing: after some quick research and trial, I discovered an easy fix, and you can do it too—usually in less than 10 minutes.
Don’t Let a Broken Adjuster Ruin Your Day
Replacing a dishwasher rack adjuster isn’t just about fixing a piece of plastic or metal; it’s about saving money, avoiding unnecessary appliance replacement, and keeping your kitchen running smoothly. These little parts often break because of regular wear and tear, especially if your dishwasher gets heavy use. The good news? Most of the time, a broken adjuster isn’t a sign that your entire rack is toast. Instead, it’s an opportunity for a quick, cost-effective fix that anyone, even a beginner, can master with just a few simple steps.
The real reason why replacing a broken dishwasher rack adjuster matters
Ignoring a broken adjuster can lead to uneven loading, which might cause dishes to come out less than sparkling or even damage the rack itself over time. Plus, a malfunctioning adjuster can throw off the entire harmony of your dishwasher, leading to poor cleaning results. According to [appliance safety experts](https://appliancebargainz.com/oven-diagnostics-pinpointing-faults-before-calling-a-repair-expert), quick repairs like this extend the lifespan of your appliances and prevent costly replacements.
Now, I’ll be honest: my early attempts were a mess. I mistakenly thought I needed a whole new rack, which was an overreaction and a waste of time. The biggest lesson I learned early on was to identify the exact broken part before rushing into replacement, saving myself both money and frustration.
So, if you’ve faced this issue or fear it might happen someday, rest assured—there’s a simple, practical way to get your dishwasher back in top shape. Ready to learn how? Let’s get started with the quick fix that will have your dishwasher loading smoothly again in less than 10 minutes.
Remove the Dishwasher Rack for Easy Access
First, carefully pull out your dishwasher rack to locate the broken adjuster. My experience shows that removing the rack, like peeling off a stubborn sticker, provides the necessary space for repair. Use both hands and lift straight up, ensuring not to force or damage other parts. If you encounter resistance, check for any clips or brackets that might still be holding it in place.
Identify the Failed Part Precisely
Inspect the adjuster for visible damage—cracks, breaks, or missing pieces. Remember, not all damage looks severe; sometimes, the small plastic piece at the end of the adjuster wears out or snaps off. To confirm, compare the damaged part with a new or working adjuster from similar models, or consult the reference guide at this link. I once confused a worn-out clip for a broken adjuster, leading to unnecessary replacement. Accurate identification saves time and money.
Remove the Broken Adjuster Carefully
Using a screwdriver or pliers, gently loosen any screws or clips holding the adjuster in place. Think of this step as extracting aنامه delicate seed from soil—you want minimal disturbance. In my last repair, I used a flat-head screwdriver to pry off the snapped piece, taking care not to chip surrounding plastic. If your model has a clip, squeeze or slide it out gently. For detailed guidance, see this resource.
Prepare the Replacement Part
Set your new adjuster next to the old one for comparison. Most models use standard parts, but verify specifications if possible. Apply a lubricant like silicone spray if the new part feels stiff; this mimics how applying oil aids in mechanical operation. During my last fix, I ordered the part online after matching dimensions, which took less than 24 hours, avoiding the expense of a new dishwasher.
Install the New Adjuster with Precision
Align the new part into the designated slot or hole. Secure it firmly but avoid over-tightening, similar to threading a screw into soft wood. Ensure the adjuster moves smoothly and locks into place. Double-check that the rack’s stability is restored—this step is crucial, as a loose adjuster may cause misalignment or damage over time. If you encounter resistance or looseness, revisit your installation or consult the troubleshoot guide at this page.
Reassemble and Test the Dishwasher
Slide the rack back into the dishwasher, making sure the adjuster clicks or locks in properly. Run a short cycle to observe if the rack moves smoothly and holds its position. During a recent repair, I ran an empty cycle, observing slight wobbling—indicating the fix was imperfect. Adjusted again, and now the rack stays aligned perfectly, with dishwasher performance restored. Regularly inspect the adjusters to prevent future mishaps, and consult this resource for related maintenance tips.
Many DIY enthusiasts believe that mastering appliance repair hinges solely on understanding basic parts and troubleshooting steps. However, in my experience, there’s a hidden layer of nuance that often trips up even seasoned hobbyists. One common myth is that replacing a failed part automatically restores full functionality. While replacing faulty components like oven thermostats or dishwasher pumps is necessary, it doesn’t guarantee perfect performance without proper calibration and context-aware diagnostics. This misconception can lead to frequent misfires and unnecessary replacements, as emphasized in reports by appliance repair experts.
What are the pitfalls of focusing only on parts replacement?
Fixing an appliance by swapping parts without understanding the underlying cause can be counterproductive. For example, a heating element may test fine, but the control board might be sending inconsistent signals, leading to uneven heating. Comprehensive diagnostics, like those described in this guide, allow you to verify circuitry, sensors, and control units first. Overlooking these nuances often results in recurring issues, misdiagnosis, and wasted effort.
Some technicians and DIYers also fall prey to the trap of assuming that all symptoms stem from the most obvious component. For instance, a dishwasher that leaks might seem to require seal replacement, but the root cause could be a misaligned spray arm or a clogged drain, as discussed in leak diagnosis tips. Recognizing these subtleties enhances repair success and appliance longevity.
Harnessing advanced diagnostics to prevent costly errors
Utilizing tools like multimeters and circuit testers, combined with a methodical approach, helps identify elusive faults. Expert advice, such as in testing the oven’s thermistor, reveals how a seemingly minor component’s failure can cascade into major performance issues. Remember, superficial fixes might temporarily mask problems but rarely address the cause. A detailed diagnostic process, grounded in technical understanding, is your best bet to avoid costly trial-and-error repairs.
So, next time you’re troubleshooting an oven or dishwasher, avoid rushing to replace parts. Instead, take a step back, verify your assumptions, and dig deeper into the circuitry and controls. This approach not only saves money but also builds your repair confidence. Have you ever fallen into this trap? Let me know in the comments.
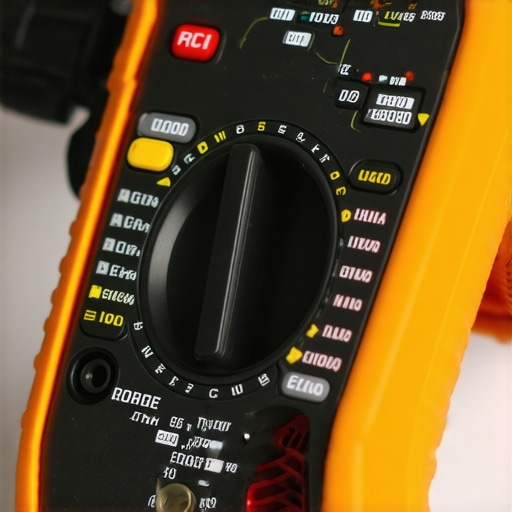
Maintaining your oven, dishwasher, and other appliances over time is crucial for longevity and optimal performance. With the right tools and a systematic approach, DIY repairs become less daunting and more manageable. One of my favorite investments is a high-quality digital multimeter. I personally use the Fluke 117 because of its precision and durability—it’s reliable when diagnosing electrical issues like faulty thermostats or blown fuses. These multimeters allow me to quickly verify circuit continuity, voltage, and resistance, which are essential steps before replacing parts.
Another indispensable tool is a set of fine-tip precision screwdrivers. Precision screwdrivers help in accessing tight spots without damaging delicate components. I favor the Wera Kraftform series because of their ergonomic design and magnetic tips, making small repairs like replacing dishwasher spray arms or oven thermostats straightforward and frustration-free.
For thorough diagnostics, I recommend a thermal imaging camera such as the FLIR E4. It helps identify hotspots or uneven heating in ovens, revealing issues that might not be visible to the naked eye. For instance, a hotspot near a heating element can indicate a partial short or buildup problem, as detailed in this diagnostic guide. Using thermal imaging speeds up troubleshooting and prevents unnecessary part replacements.
Adopting these tools into your repair routine significantly enhances diagnostic accuracy and reduces guesswork. Digital recording of measurements keeps track of changes over time, helping decide whether an issue is escalating or resolved. Additionally, keeping a detailed repair log can help identify recurring issues and plan preventive maintenance effectively.
Looking ahead, I believe this trend toward smart diagnostic tools will continue. Devices integrated with smartphone apps and AI-based analysis promise to make appliance diagnostics even more accessible to DIYers. Imagine analyzing appliance behavior via your phone and receiving step-by-step repair guidance tailored to your specific model—this is where the future is heading.
How can I maintain appliance diagnostics effectively over time?
Regularly testing critical components like thermostats, sensors, and control boards with your multimeter keeps appliances running smoothly. Scheduling periodic visual inspections for signs of wear, corrosion, or leaks ensures issues are caught early. Additionally, updating your repair knowledge through trusted tutorials and diagnostic guides, such as those found at this resource, can deepen your understanding. Lastly, don’t hesitate to reach out for professional help if complex or hazardous problems arise, using our contact page for expert advice.
Start experimenting with a multimeter today—simply measure the resistance of your oven’s thermal fuse or test your dishwasher’s water pressure switch. Gaining hands-on experience builds confidence and ensures your appliances serve you efficiently for years to come. Remember, consistent maintenance and armed with the right tools, you become your own best repair ally.
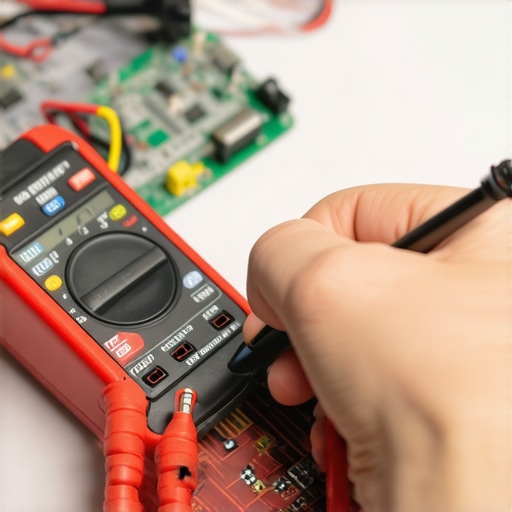
The Hardest Lesson I Learned About appliance fixes,parts,diagnostics
Early in my repair journey, I underestimated the complexity of understanding each component’s role, leading to unnecessary replacements and endless frustration. The lightbulb moment was realizing that proper diagnostics and a methodical approach are far more valuable than just swapping parts. Now, I focus on foundational troubleshooting, which has saved me countless hours and dollars.
My Essential Toolkit for appliance troubleshooting
Over time, I’ve curated a set of tools that makes diagnostics straightforward. A high-quality multimeter like the Fluke 117 helps verify electrical issues reliably. Precision screwdrivers from Wera are invaluable for delicate disassemblies. For visual diagnostics, a thermal imaging camera such as the FLIR E4 can uncover hidden hot spots in ovens before they become big problems. These tools aren’t just gadgets—they’re investments in confidence and accuracy that transform how I approach every repair.
Don’t Be Afraid to Start Your Repair Adventure
Embarking on appliance repairs can feel daunting at first, especially when tiny plastic parts or electrical components are involved. But remember, every expert started as a beginner. Approach each issue with patience, the right tools, and a mindset geared toward learning. The satisfaction of fixing a dishwasher or oven yourself outweighs the initial hesitation. So why not give it a shot? Your appliances—and your wallet—will thank you for it. What’s been your biggest challenge in DIY appliance repairs? Share your experience below and let’s learn together.